Hi everyone! I know it's not Wednesday, but I won't be home to post this tutorial for Work Shop Wednesday. This is a flag book tutorial that I found online. It's a great tutorial with beautiful instructions. What a great website! Check it out! Click on the Mini Album Tutorial and it will take you to the website. As always, thank you for stopping by. Hugs Brenda
MINI ALBUM TUTORIALS
MINI ALBUM TUTORIALS
Note that the pages (or flags) on this album are only 4 3/8" x 2 " which is quite small. You might be hard pressed to fit photos on each of the pages, see the hints below for some useful ideas for this size mini. I am going to use this book as an ABC album for my daughter. She will cut out pictures and paste them into the book.
Experiment with size
A 5"x8" book would be a great size for a photo mini album. With two layers of flags your pages will be around 5"x4" in size which would be great to work with. Experiment with the size of your mini albums and find something to suit your needs.Materials
- 2 pieces of 4½" x 6¼" chipboard (front and back covers)
- 2 pieces of patterned paper 5½" x 7½" (to cover the front and back covers)
- 2 pieces of 4¼" coordinating papers (Inside of both covers)
- 1 strip of 6" x 6" (book spine)
- 15 pieces of 4 3/8" x 2 " card stock (the flags or pages)
- 1 piece of 26" ribbon (closure)
- Paper trimmer, Adhesive (I used a glue stick and double sided tape)
Step by Step Directions
Prepare the covers
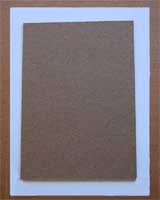
Take One of the chipboard covers and one of the 5½" x 7½" patterned papers. Adhere the chipboard cover to the center of the patterned paper with a glue stick. |

Step twoMiter the corners of the scrapbook paper with a craft knife. |
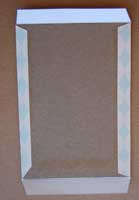
Score along the fold lines of the side flaps with a bone folder or simply use your finger nail. Then adhere the flaps down with a glues stick. |
 Step one
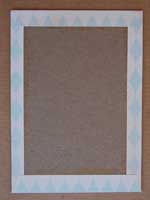
 Step three
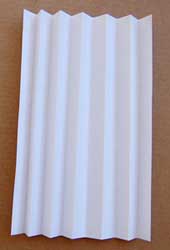
Making the spine of the book
Take the strip of 6"x"6" card stock and score a vertical fold line every ½" along the length. |
Adhere the spine to the front cover as pictured here. |
Take one of the 5½" x 7½" coordinating paper pieces and adhere it to the inside cover. |
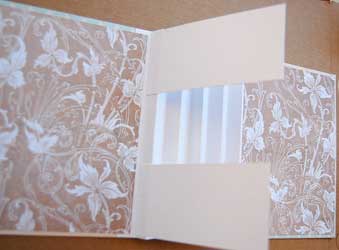
Repeat steps five and six to adhere the back cover to the book spine. |
 Step four
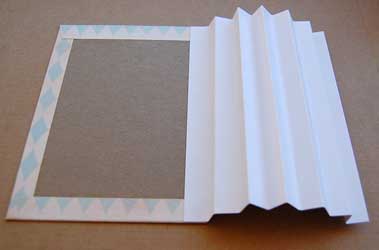 Step five
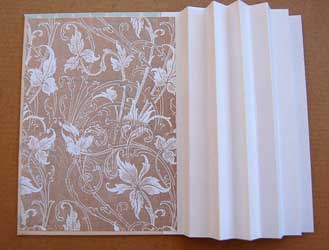 Step six
 Step seven
Attaching the Flag Pages
Stick your pages to the spine. The pages on the top and the bottom will be attached to the left sides of each accordion fold
Note. I used double sided tape to adhere the flags, it was a bit tidier than glue. |
The middle pages will be attached to the right side of each accordion fold. |
Attach all the pages or flags until you have used all 15. There should be 5 flags on each row. |
 Step eight
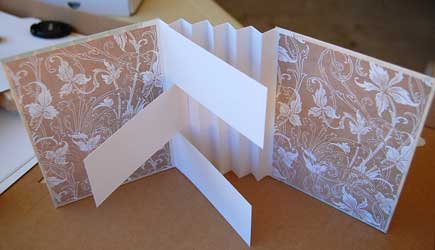 Step nine
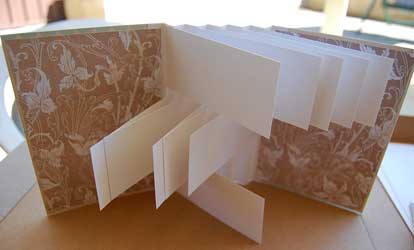 Step ten